Kickstarting Kafka Locally with Docker Compose
🚀 The hands-on journey to Kafka mastery begins here.
🚀 The hands-on journey to Kafka mastery begins here.
Kickstarting Kafka Locally with Docker Compose
🚀 The hands-on journey to Kafka mastery begins here.
🧭 Why Start with Docker?
If you’re learning Apache Kafka, your first battle is just… getting the damn thing to run.
Installing Kafka manually can be a pain — Zookeeper dependencies, port conflicts, Java versions, memory configs. Ugh.
Instead, we’ll use Docker Compose to set up a fully working Apache Kafka cluster with Zookeeper and a slick Kafka UI dashboard — all in under 5 minutes.
🛠️ What We’ll Set Up
- 🐘 Zookeeper (required by Kafka)
- 🦍 Apache Kafka (Bitnami’s official Docker image)
- 📊 Kafka UI (Browser-based admin tool for topics, messages, offsets)
We’ll build on this stack in future posts, gradually working toward a full event-driven e-commerce system.
🐘 Why Do We Need Zookeeper?
Kafka uses Zookeeper to:
- Track broker metadata and cluster health
- Elect a controller broker to coordinate partition leadership
- Store configurations and ACLs (in traditional setups)
You can think of Zookeeper as Kafka’s cluster brain — responsible for coordination and consensus between brokers.
💡 In newer Kafka versions (2.8+), Zookeeper is optional if you’re using KRaft mode (KRaft = Kafka Raft Metadata mode). But for local development and compatibility, Zookeeper is still commonly used.
📁 Folder Structure
Your project will begin with this structure:
kafka-mastery/
├── docker-compose.yml
├── README.md
├── .gitignore
└── src/
└── main/java/com/ajitem/kafka/
Each future post will build on this codebase. All code lives in one GitHub repo, versioned by tags.
🐳 The Docker Compose File
Here’s the minimal docker-compose.yml to boot Kafka, Zookeeper, and Kafka UI locally:
version: '3.8'
services:
zookeeper:
image: bitnami/zookeeper:3.9
container_name: zookeeper
environment:
- ALLOW_ANONYMOUS_LOGIN=yes
ports:
- "2181:2181"
kafka:
image: bitnami/kafka:3.7
container_name: kafka
depends_on:
- zookeeper
environment:
- KAFKA_CFG_ZOOKEEPER_CONNECT=zookeeper:2181
- KAFKA_CFG_ADVERTISED_LISTENERS=PLAINTEXT://localhost:9092
- KAFKA_CFG_LISTENERS=PLAINTEXT://:9092
- ALLOW_PLAINTEXT_LISTENER=yes
ports:
- "9092:9092"
kafka-ui:
image: provectuslabs/kafka-ui:latest
container_name: kafka-ui
depends_on:
- kafka
ports:
- "8080:8080"
environment:
- KAFKA_CLUSTERS_0_NAME=local
- KAFKA_CLUSTERS_0_BOOTSTRAPSERVERS=kafka:9092
✅ Why Bitnami Images?
They’re fast, lightweight, well-documented, and open-source friendly.
🧪 Running Kafka Locally
Make sure Docker is running, then open your terminal:
git clone https://github.com/ajitems/kafka-mastery.git
cd kafka-mastery
git checkout v0.1.0
docker-compose up
You’ll see Kafka and Zookeeper start up like this:
kafka | [INFO] Kafka started on port 9092
zookeeper| [INFO] binding to port 2181
🔍 Kafka UI Dashboard
Once your cluster is up, open your browser and go to:
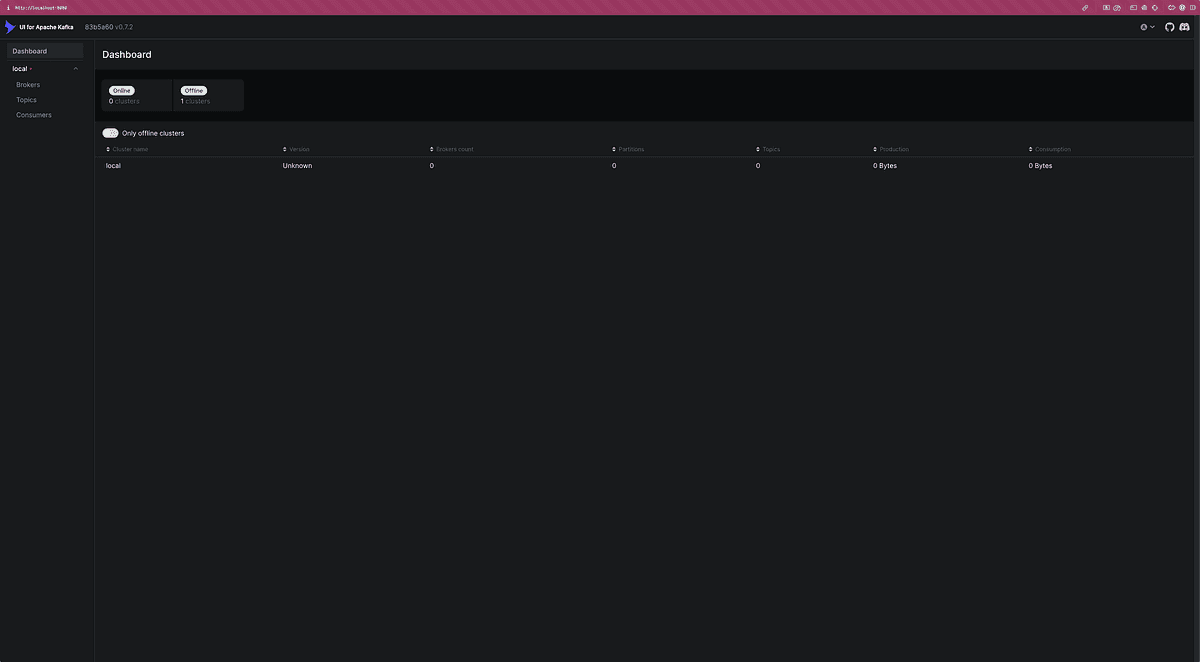
You’ll see a beautiful UI that lets you:
- View brokers and topics
- Create/delete topics
- Inspect messages
- Monitor partitions and consumer groups
✅ Test It Works
Let’s create a topic via the CLI:
docker compose exec -it kafka kafka-topics.sh \
--create --topic test-topic \
--bootstrap-server localhost:9092
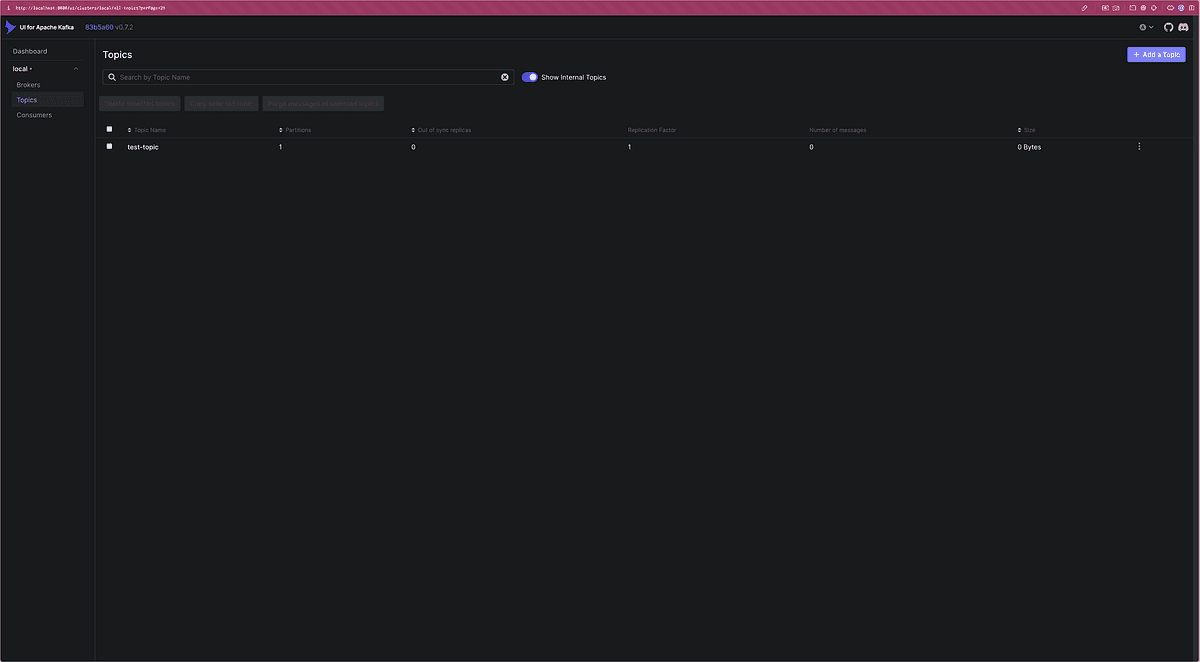
Refresh the Kafka UI — test-topic should now appear.
🏷 Git Tag for This Post
You can check out this exact setup using:
git checkout v0.1.0
Full code: github.com/asahasrabuddhe/kafka-mastery/tree/v0.1.0
🧠 What You Learned
✅ How to set up Kafka with Docker Compose
✅ Why we need Zookeeper
✅ How to inspect the cluster with Kafka UI
✅ How to create topics via CLI
🚀 What’s Next?
In the next post, we’ll:
- Write a Kafka Producer in Java
- Send JSON messages to a topic
- Create a Consumer to read those messages
- View them in Kafka UI
👉 Read Part 2: Your First Kafka Producer and Consumer
🙏 Feedback Welcome
If you found this useful, consider:
- Leaving a comment 💬
- Following me on LinkedIn
- ⭐ Starring the GitHub repo